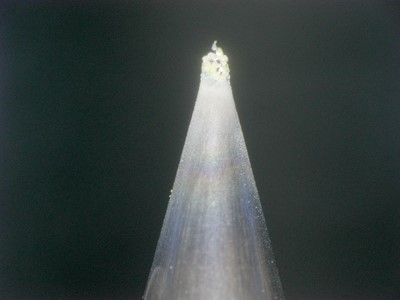
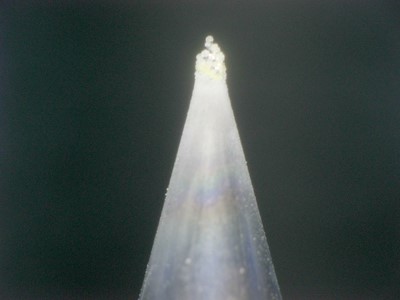
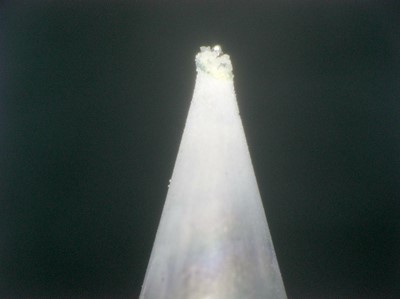
The electrodes of an optical fiber splicer have a lifespan, measured in the number of splices that can be done with them. During operation, the surface of the electrodes gradually wears out - the more times they have welded the optical fiber, the stronger the wear. This is how it looks:
 |
 |
 |
 |
 |
| ©FUJIKURA LTD. | ||||
| New electrode | 2500 splices | 5000 splices | 7500 splices | 10000 splices |
The wear of the surface of the electrodes leads to a deterioration in the welding parameters - in particular, to an increase in losses in the welded joint. This is due to the fact that the discharge point ceases to coincide with the point at which the ends of the fibers being welded are brought together. The less sharp the tip of the electrode, the greater this displacement. And wired optics, which are being welded, significantly lose their quality.
Fujikura electrodes have the following life values:
| Machine model | Electrode brand | Lifetime |
| 61S, 62S, 70S, 80S | ELCT2-20A | 5000 splices & nbsp; |
| 12S, 21S, 22S | ELCT2-12 | 5000 splices & nbsp; |
| 70R | ELCT2-20A | 1500 splices & nbsp; |
| 19R | ELCT2-20A | 2000 splices & nbsp; |
| 12R | ELCT2-12 | 1500 splices & nbsp; |
Threshold values for electrode life can be set in Fujikura settings. During operation, the counter will take into account each weld made, and when the threshold value is reached, the device will prompt you to replace the electrodes. In this case, the weld counter is reset to zero each time such a replacement is made.
Electrode Replacement Procedure
1. The machine must be in standby, pause, or end mode.
©FUJIKURA LTD.
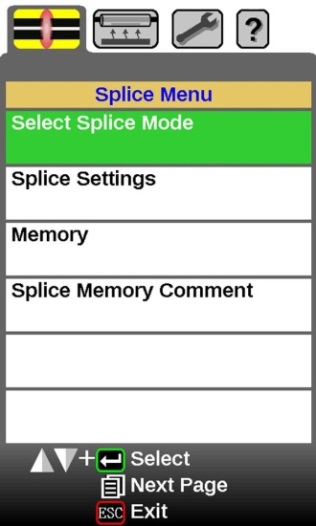
2. Press the MENU key on the machine twice to access the service menu.
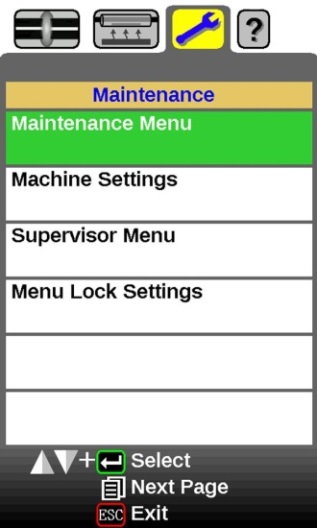
©FUJIKURA LTD.
3. Press the ENT key on the machine to enter the menu.
& copy; FUJIKURA LTD.
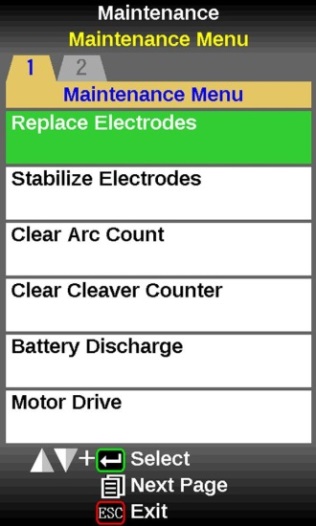
4. Select Electrode Replacement and press the ENT key. The screen will display & nbsp; what to do.

& copy; FUJIKURA LTD.
5. You will need to turn off the device (to do this, press and hold the ENT key).
& copy; FUJIKURA LTD.
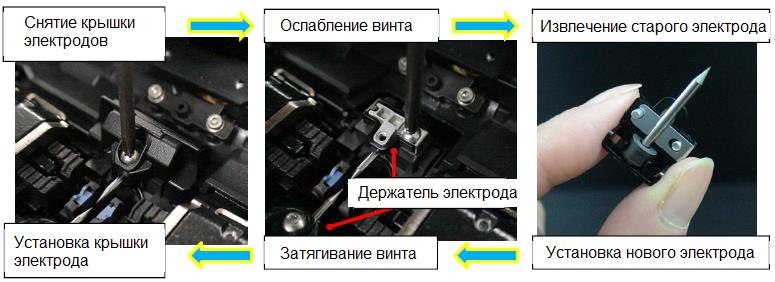
6. Remove the cover from each electrode, loosen the screw on each electrode holder, remove the old electrodes from the holders.
7. Insert new electrodes into the holders, tighten the screws, install the covers. When doing this, do not touch the ends of the electrodes.
8. & nbsp; Turn on the device (press and hold the ENT key). You will need to install fibers in it.

& copy; FUJIKURA LTD.
9. Prepare the fibers and install them in the machine, press the ENT key. The machine then calibrates the arc and stabilizes the electrodes.

& copy; FUJIKURA LTD.
10. If necessary, the calibration must be repeated until the device shows that its results are positive.
After this, fiber optic splices can be performed during normal equipment operation.
For complete information on equipment and accessories for splicing optical fibers, see ; appropriate section of our website.